Asymmetrical Poncho Wrap
|
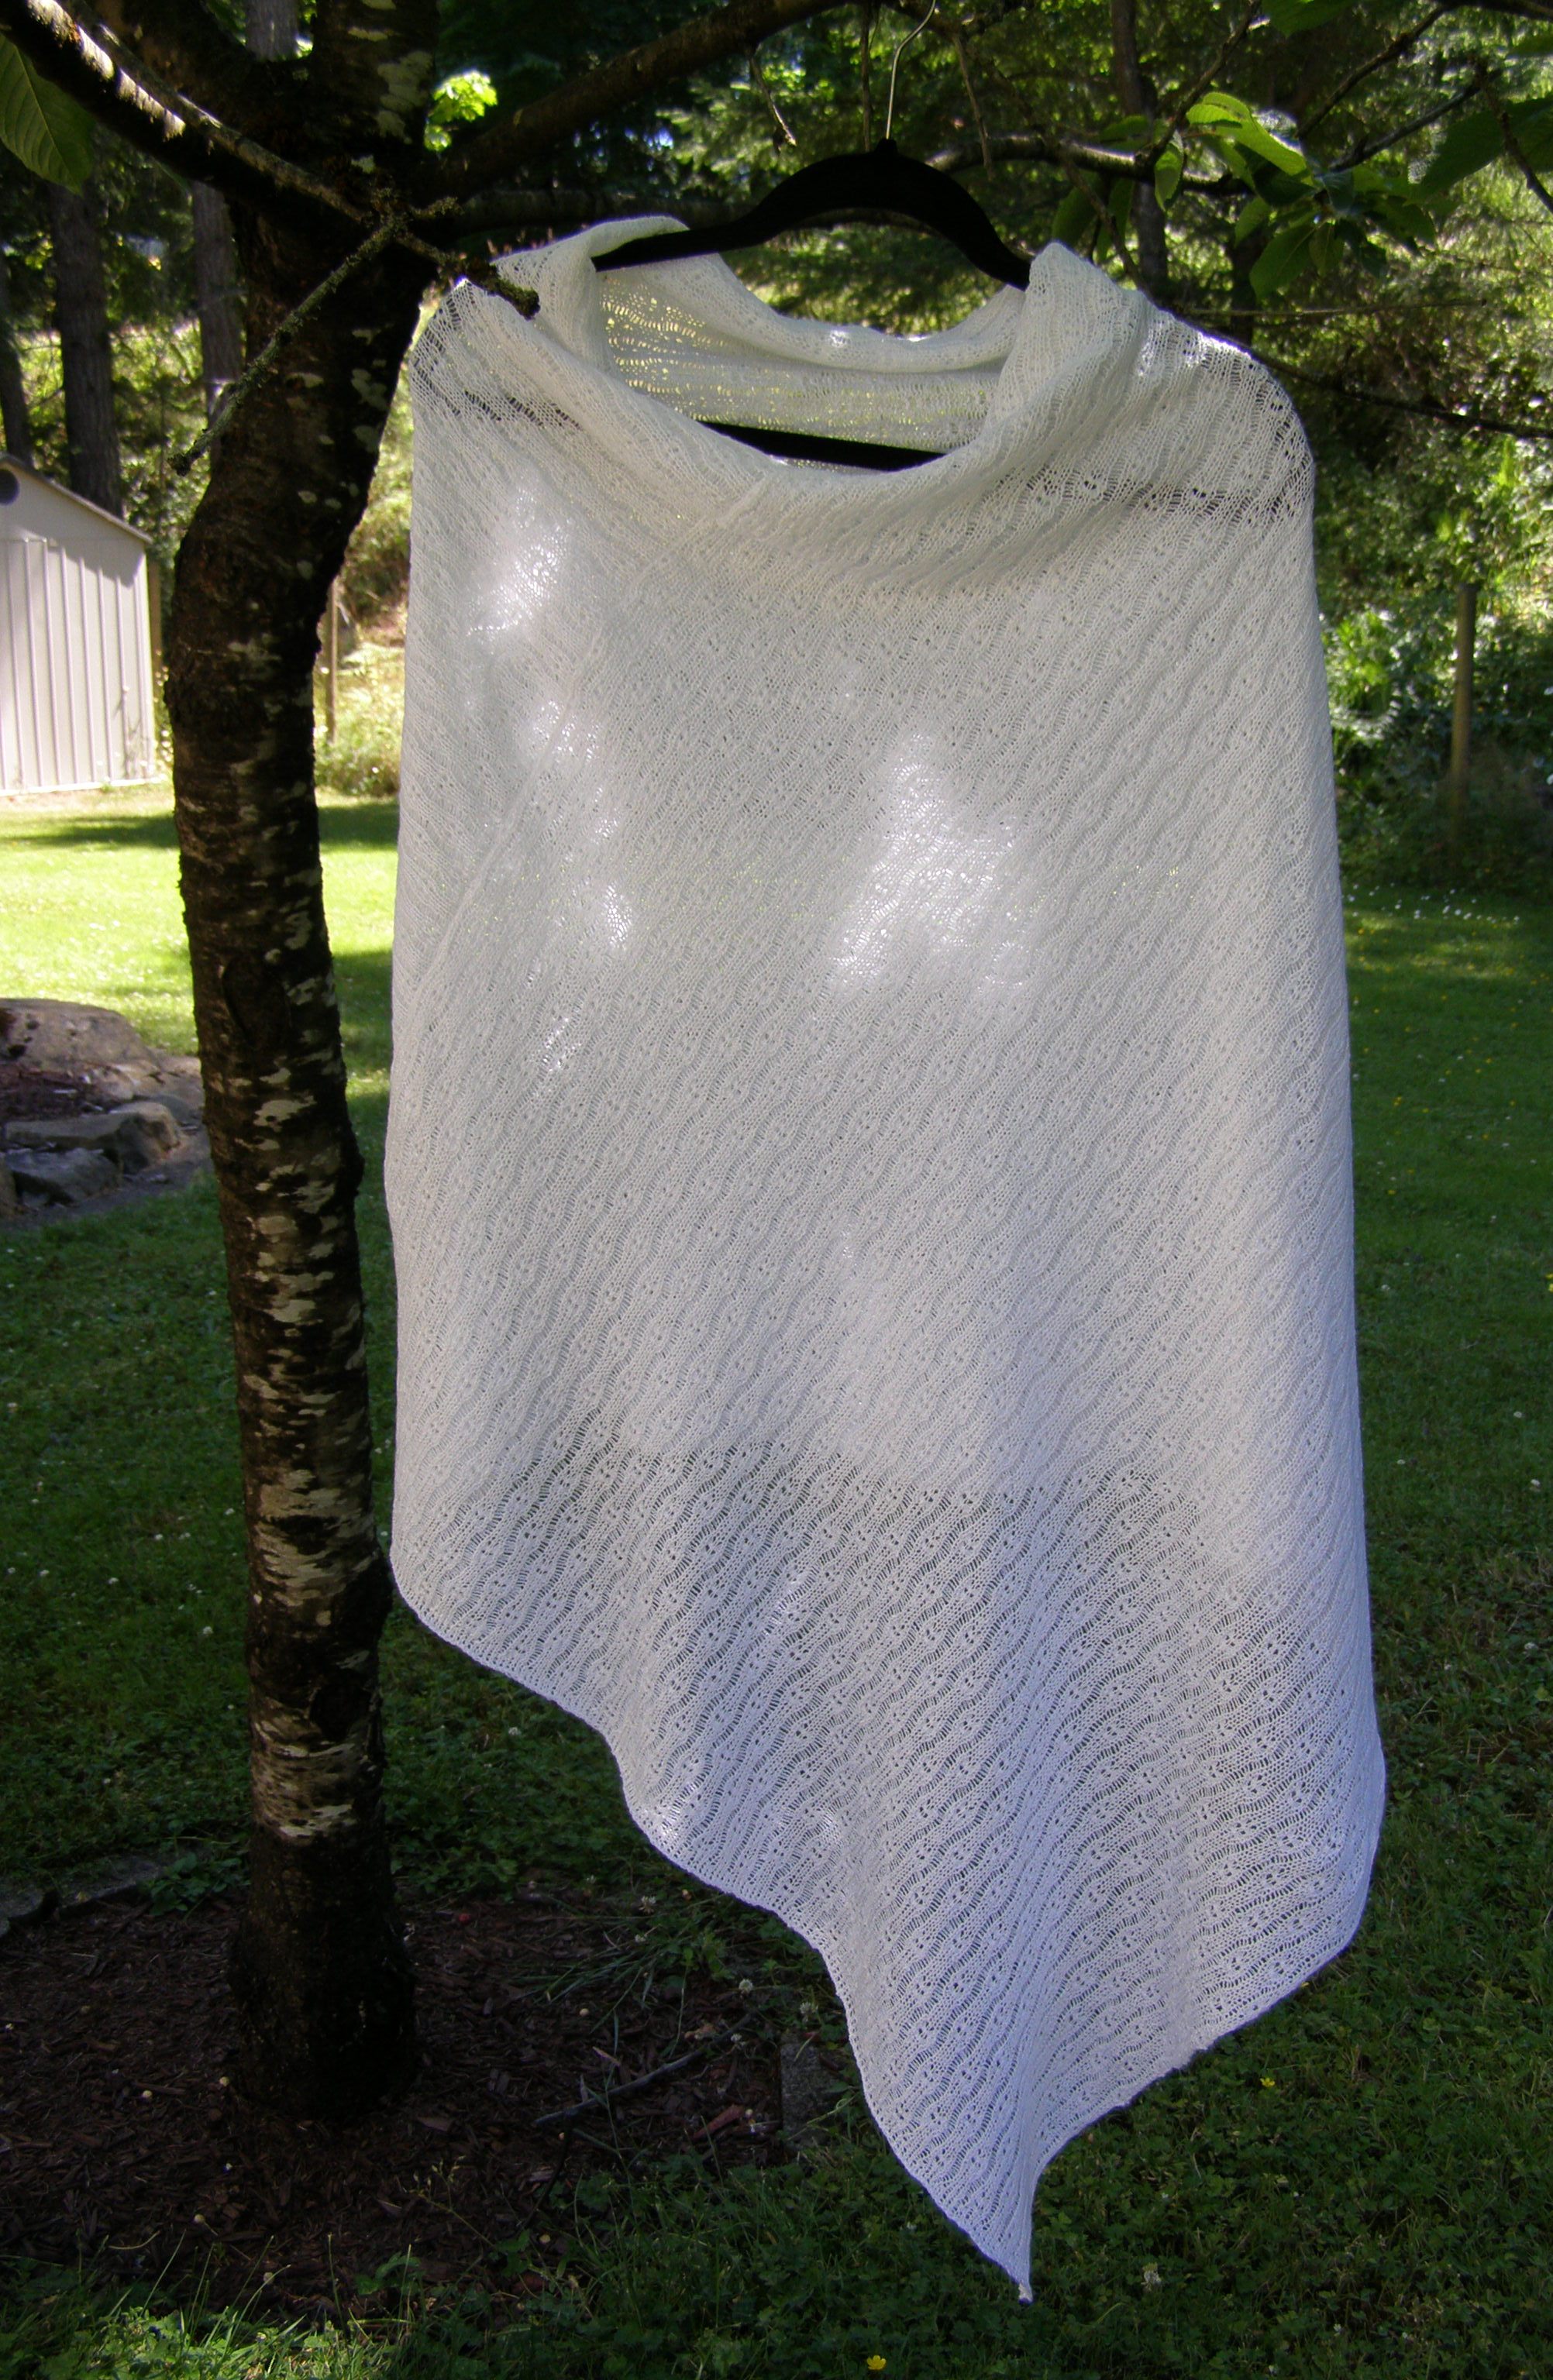
Tuck stitch version |
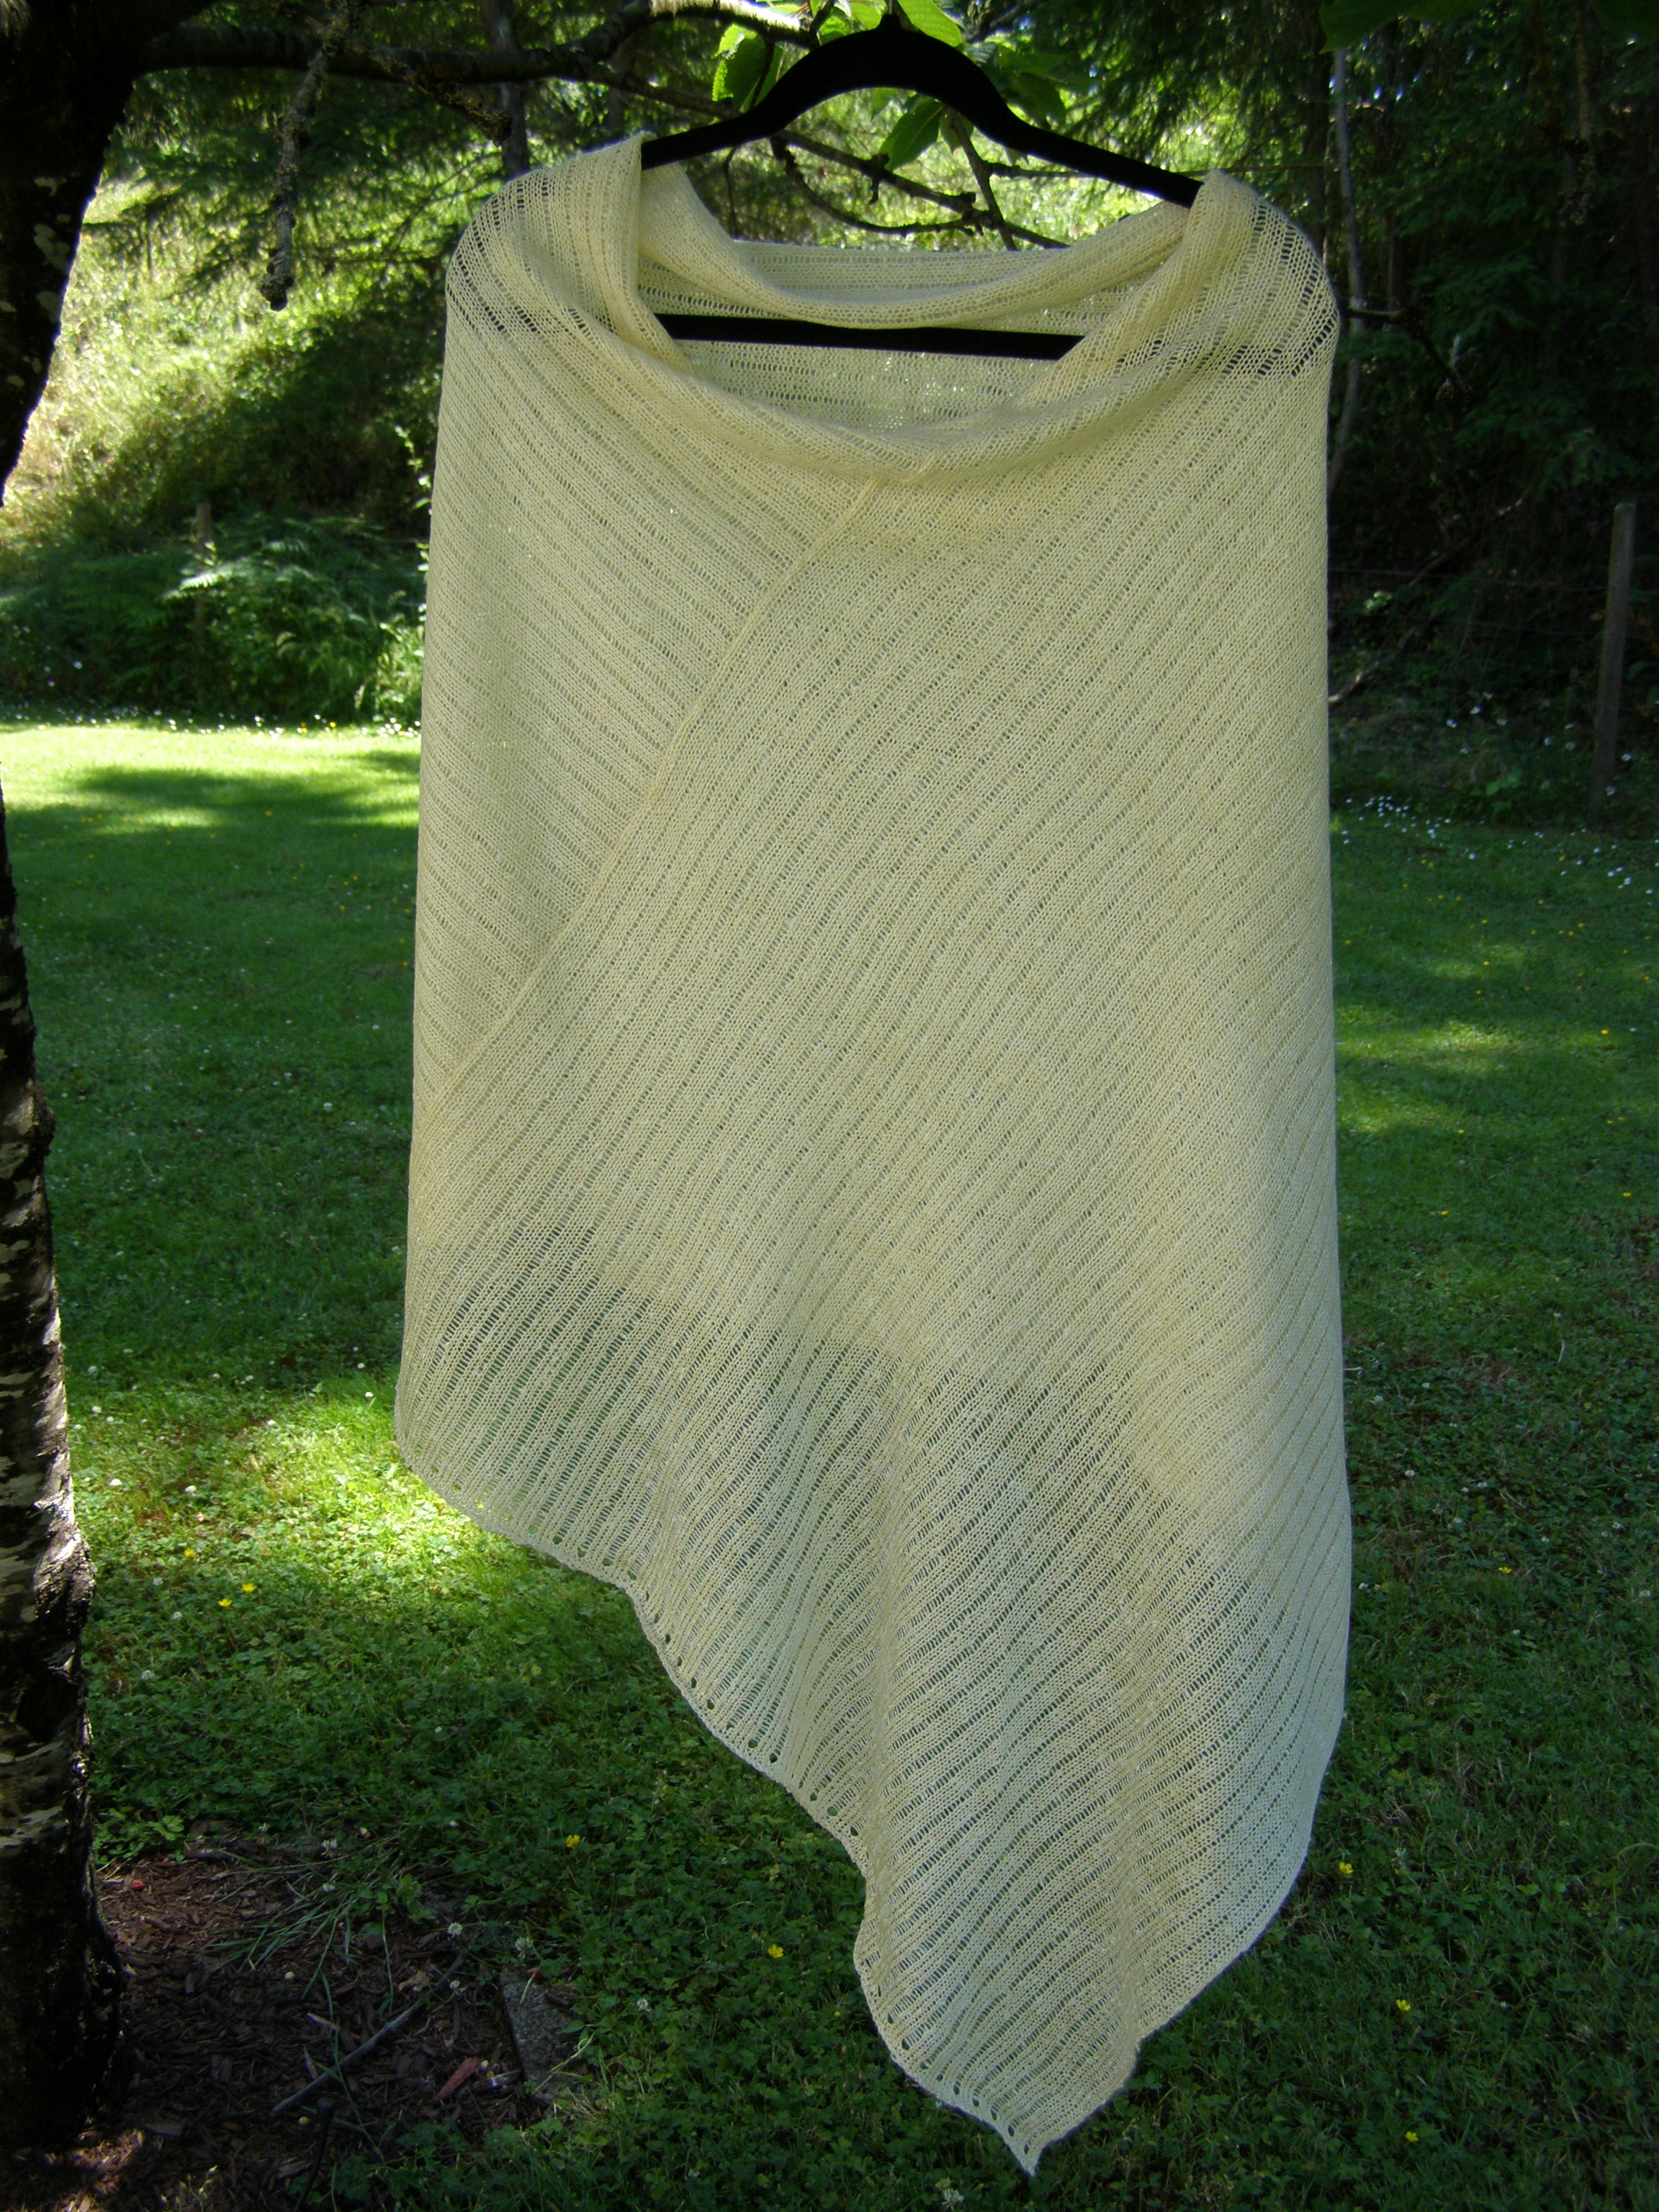
Stockinet version |
Nice little cover up for air conditioned buildings or for chilly evenings.
| Pattern Rating | Simple |
| Machine | Any standard gauge machine. No ribber needed. I knit all mine on a Brother CK35 |
| Materials | Bramwell Hobby and Silky used together or any other fine yarn(s) of approximately the same thickness |
| Measurements | Size will differ depending on the colour used and rows |
| Tension | Not too critical. I used T 6.2 to start with but eventually felt 6.1 was a better tension. At these tensions I got between 27 to 34 sts to 4 inches (10 cm) and 31 rows to 38 rows to 4 inches (10 cm). If not using Bramwell Silky and Hobby do a sample - tension should be a little on the loose side. |
| Notes | The plain stocking stitch version weighed from 5.7 ozs (159 grams) to 6.5 ozs (184 grams) depending on the colour (light blue being the lightest weight). When knit in tuck lace (pattern 288 from the Brother Stitch World Pattern Book) it required 650 rows to get the same length and weighed approx., 8 ozs (225 grams). If you have a Silver Reed/Studio/Knitmaster machine use a simple tuck stitch where the tuck occurs in the centre stitch of the three needles. Check your manuals for suitable patterns. |
Bring forward to hold position 93-0-94 needles and return every 4th needle to non-working position across the bed (3 up, 1 down across the bed). (Or 6th or 7th, as long as you have sets of three needles or sets of five needles etc., with a needle out of work between them and approximately 187 needles). I did them in 3 up, 1 down, 5 up, 1 down and different variations in the same wrap.
If you are doing the tuck lace version use the same amount of needles and keep the needle set up to 3 up in work and 1 down out of work. You will need to knit more rows to get the same length, 650 rows, so you will need more yarn. I personally like it best in tuck lace, so that's the one I normally knit for sale.
E-wrap cast on. Weigh evenly across the whole row. I used the cast on comb and 4 wide lace weights and a claw weight at each side to achieve even weight. Knit 506 rows moving the weights up as you knit. As a guide I found that the knitting needed to touch the floor and have an excess of about a foot on the floor for it to be the right length. I did try to measure it and it was approximately 44 inches (112 cm) long but it was a bit difficult to get an accurate measurement. You don't want it too short or you won't have enough width for the neck (you need it to be about at least 26 inches (66 cm) wide - the idea being that you can put it over your head without messing your hair. On the other hand if it is too wide it will fall off your shoulders.)
Bring needles in non-working position forward and pick up a heel of a stitch beside each needle and put it on the empty needle. Knit three more rows and cast off somewhat loosely. (If you don't mind a row of holes [which actually look quite nice] just bring forward needles in non working position and knit three more rows and cast off.)
Take it to your ironing board and set the iron for silk and a little steam (that's what I use on my iron but you will have to try out your iron to see what works - just not too hot). Starting at one end press on the wrong side (purl side) from the centre out to the sides, stretching it as you go until it is nice and flat and the edges also are flat. Don't be gentle, the idea is to "kill" the fabric. At the cast off and cast on ends you will have to turn it to the knit side to press it out flat. Don't worry if it isn't exactly the same width or you get a little fluting on the sides - it will be fine. After pressing it should be approximately 53 inches (134 cm) long and 26 to 27 (69 to 71 cm) inches wide.
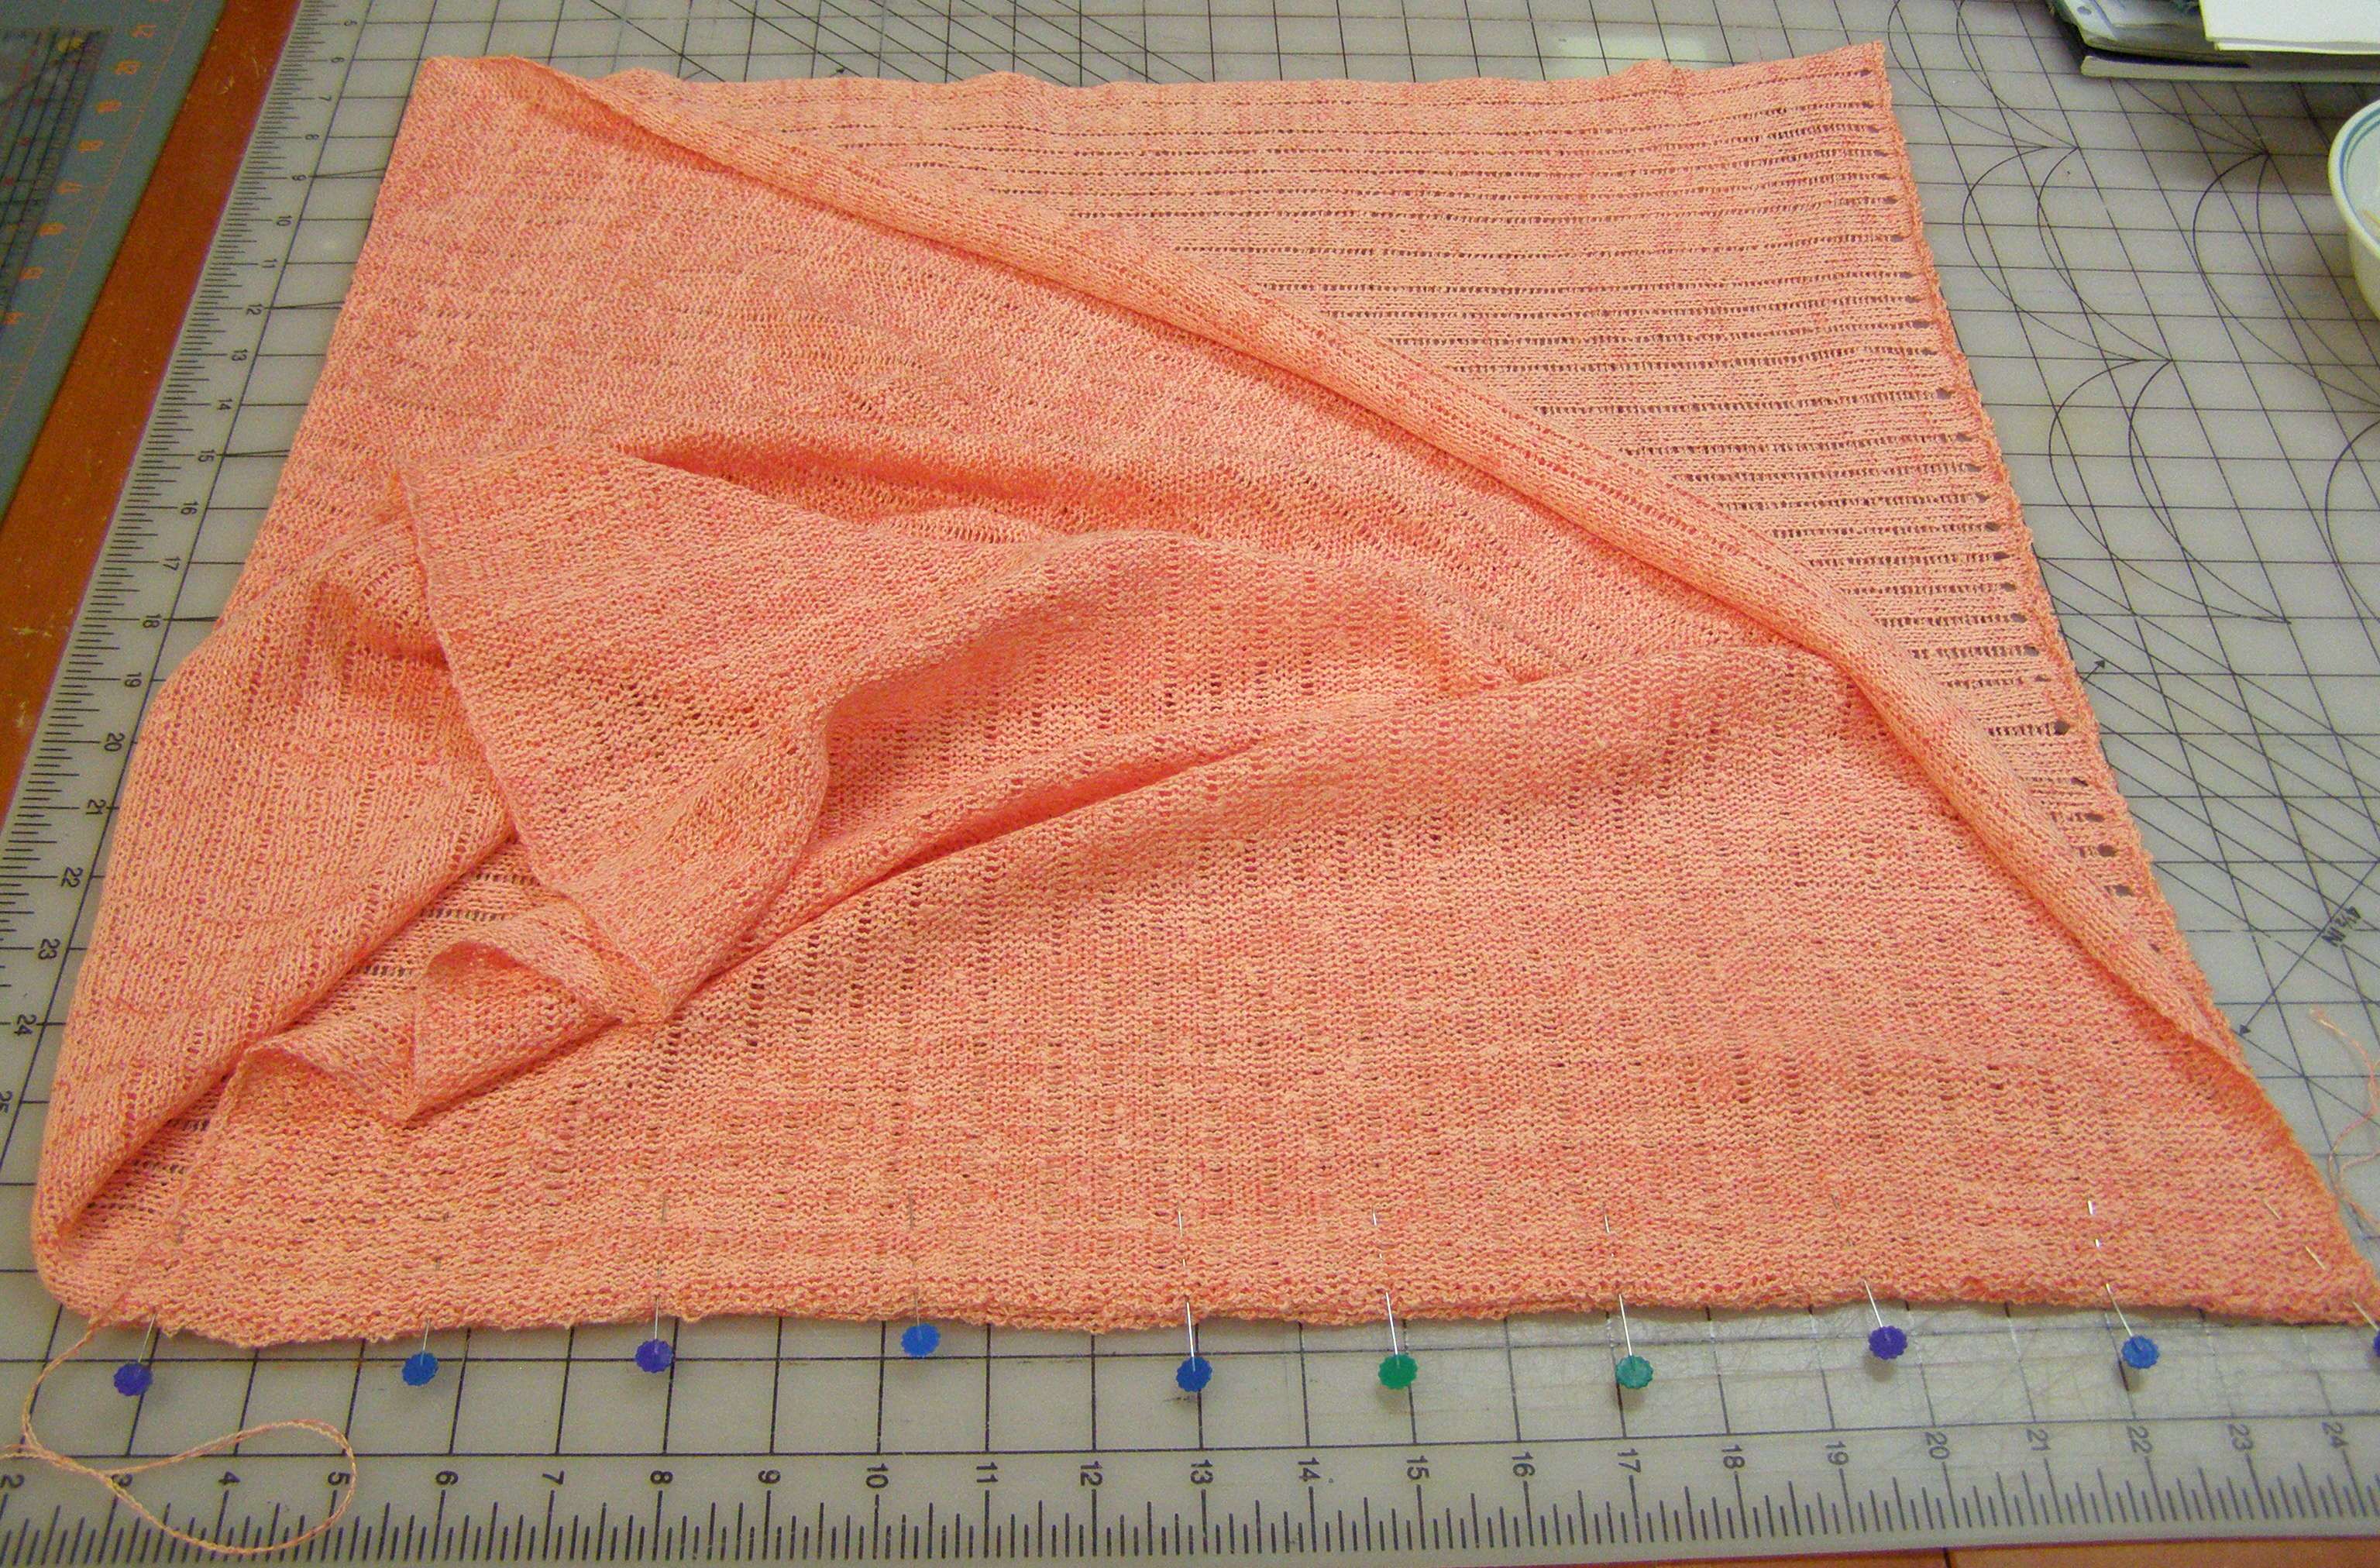
Once it is pressed lay it flat on a table, knit side up, with the cast off end to the right. Bring the cast on end from the left, over to the top right of the fabric or the bottom right if you prefer, (right sides together) and pin in place. (see photo below) You will find it easier to sew if you have the curl of the fabric facing up. Take the fabric to the sewing machine and sew together or hand sew (I get a neater finish by using my sewing machine). Weave in any ends and give the seam one last press to press it to the side it wants to go to. And that's it, time to wear it.
| Copyright©rvk December 2017 |